## Instructions of Using Blender: Your Comprehensive Guide to 3D Mastery
Are you ready to unleash your creative potential in the world of 3D modeling, animation, and rendering? Blender, the powerful and open-source 3D creation suite, offers a vast array of tools and features to bring your imagination to life. However, navigating its interface and mastering its functionalities can seem daunting at first. This comprehensive guide provides detailed instructions of using Blender, designed to empower you, whether you’re a complete beginner or an experienced artist looking to expand your skillset. We’ll delve into the core concepts, explore advanced techniques, and offer practical tips to help you confidently navigate the world of Blender and create stunning 3D art. Our goal is to provide you with the most comprehensive and user-friendly instructions of using Blender available, focusing on clarity, practical application, and building a solid foundation for your 3D journey.
### Why Blender is the Go-To Choice for 3D Artists
Blender’s popularity stems from its robust feature set, its active community, and its completely free and open-source nature. Unlike proprietary software with hefty subscription fees, Blender provides access to professional-grade tools without any financial barriers. This makes it an ideal choice for students, hobbyists, and independent artists. Furthermore, Blender’s versatility allows it to be used across various industries, including animation, visual effects, game development, architecture, and product design.
## Understanding the Blender Interface and Basic Navigation
Blender’s interface is highly customizable, but understanding its fundamental elements is crucial for efficient workflow. The default layout consists of several key areas, each serving a specific purpose:
* **3D Viewport:** This is the main area where you’ll interact with your 3D models. You can rotate, pan, and zoom to view your scene from different angles.
* **Outliner:** This panel displays a hierarchical list of all objects in your scene, allowing you to easily select, organize, and manage them.
* **Properties Editor:** This panel provides access to various properties of selected objects, such as their location, rotation, scale, materials, textures, and modifiers.
* **Timeline:** This area is used for animation, allowing you to control the timing and keyframes of your objects’ movements.
* **Toolbar:** Located on the left side of the screen, the toolbar provides quick access to essential tools for modeling, sculpting, painting, and more.
### Navigating the 3D Viewport
Mastering viewport navigation is essential for working efficiently in Blender. Here’s a breakdown of the basic controls:
* **Rotate:** Middle mouse button (MMB) + Drag.
* **Pan:** Shift + MMB + Drag.
* **Zoom:** Mouse wheel or Ctrl + MMB + Drag.
Blender also offers alternative navigation methods using the numpad keys. For example, pressing ‘1’ on the numpad switches to front view, ‘3’ switches to right view, and ‘7’ switches to top view. Pressing ‘5’ toggles between perspective and orthographic views.
### Essential Blender Concepts: Objects, Meshes, and Modifiers
Before diving into specific tools, it’s important to understand three fundamental concepts in Blender:
* **Objects:** Objects are the building blocks of your scene. They can be anything from simple cubes and spheres to complex characters and environments. Objects have properties such as location, rotation, and scale.
* **Meshes:** Meshes are the underlying geometric structures of 3D models. They are composed of vertices (points), edges (lines connecting vertices), and faces (surfaces defined by edges). Manipulating the mesh directly allows you to shape and sculpt your models.
* **Modifiers:** Modifiers are non-destructive operations that can be applied to objects to alter their geometry, appearance, or behavior. Modifiers allow you to add complexity to your models without permanently changing the underlying mesh. Common modifiers include subdivision surface, bevel, array, and mirror.
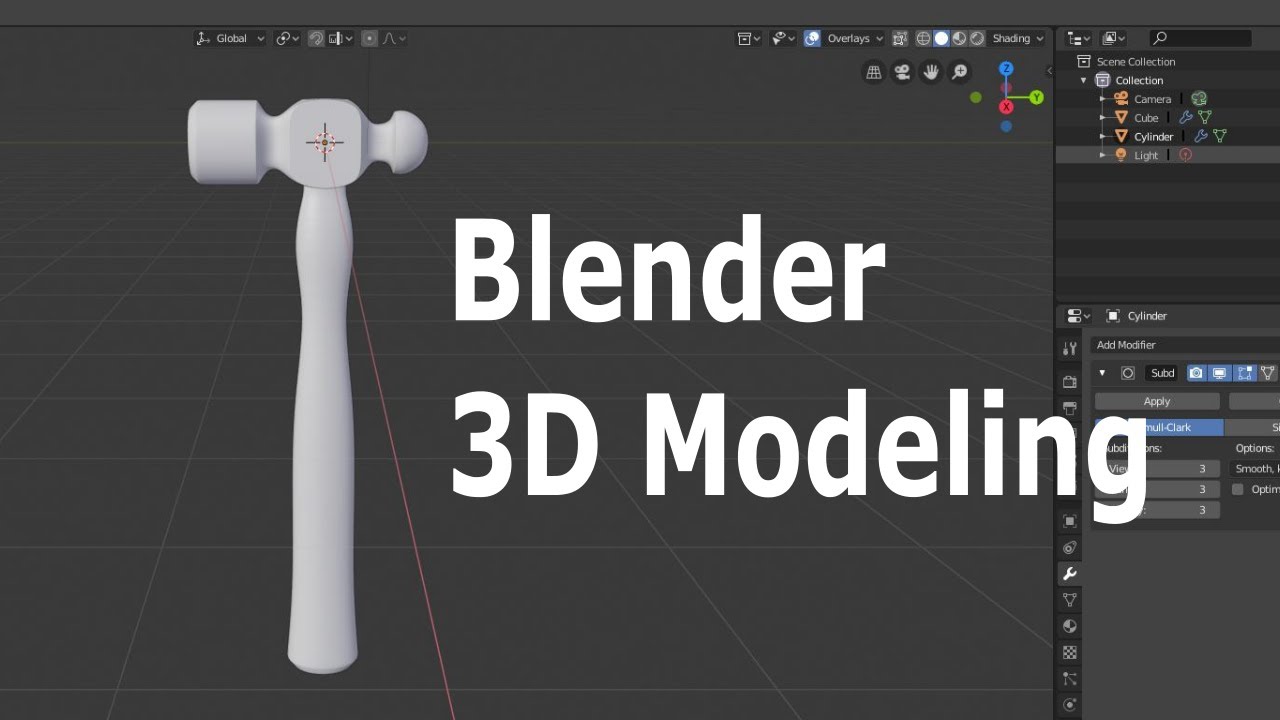
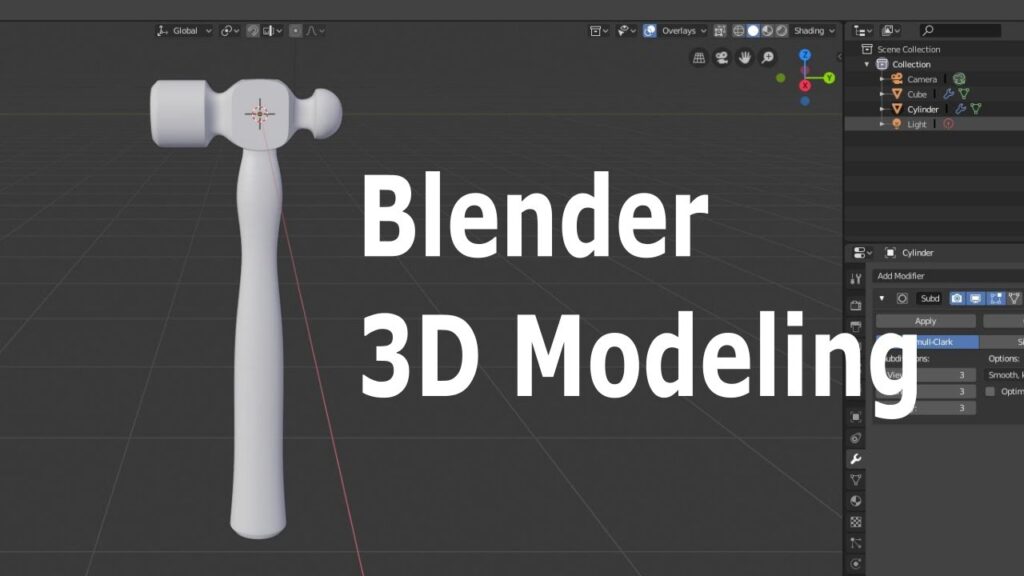
## Step-by-Step Instructions: Creating Your First 3D Model
Let’s walk through the process of creating a simple 3D model to illustrate the basic workflow in Blender. We’ll create a stylized coffee mug.
1. **Start with a Cylinder:** Delete the default cube by selecting it and pressing ‘X’ or ‘Delete’. Then, press Shift + A to open the ‘Add’ menu and select ‘Mesh’ -> ‘Cylinder’.
2. **Adjust the Cylinder’s Dimensions:** In the ‘Add Cylinder’ panel (usually located in the bottom-left corner of the viewport), adjust the number of vertices to create a smoother shape. You can also adjust the radius and depth of the cylinder to your liking.
3. **Extrude the Top Face:** Switch to ‘Edit Mode’ by pressing ‘Tab’. Select the top face of the cylinder by using face selection mode (press ‘3’). Press ‘E’ to extrude the face upwards to create the body of the mug.
4. **Create the Mug’s Rim:** Extrude the top face again slightly upwards. Then, press ‘S’ to scale the face outwards, creating a rim for the mug.
5. **Hollow Out the Mug:** Select the top face again and press ‘I’ to inset the face. Then, press ‘E’ and extrude the face downwards to create the hollow interior of the mug.
6. **Add a Handle:** Press Shift + A to add a ‘Curve’ -> ‘Bezier Circle’. Position and scale the circle to the side of the mug. Convert the curve to a mesh by selecting the curve, going to *Object > Convert > Mesh*. Now you can edit the mesh to shape the handle. Extrude faces and move vertices until you have a pleasing handle shape.
7. **Smooth the Model:** Add a ‘Subdivision Surface’ modifier to the mug and the handle to smooth out the sharp edges. Adjust the ‘Levels Viewport’ and ‘Levels Render’ settings to control the amount of smoothing.
8. **Add Materials and Colors:** Switch to the ‘Shading’ tab. Select the mug and create a new material by clicking the ‘New’ button in the ‘Material Properties’ panel. Choose a color for the mug by adjusting the ‘Base Color’ setting. Repeat for the handle.
This simple exercise demonstrates the basic steps involved in creating a 3D model in Blender. You can experiment with different shapes, tools, and modifiers to create more complex and detailed models.
## Mastering Key Blender Tools and Techniques
Blender offers a wide range of tools and techniques for 3D modeling, animation, and rendering. Here are some essential tools and techniques that every Blender user should master:
* **Modeling Tools:** Extrude, Inset, Bevel, Loop Cut, Knife Tool, Bridge Edge Loops.
* **Sculpting Tools:** Sculpting mode provides a set of brushes for deforming and shaping your models. Common sculpting brushes include Clay Strips, Smooth, Grab, and Inflate.
* **UV Unwrapping:** UV unwrapping is the process of projecting a 3D model’s surface onto a 2D plane, allowing you to apply textures to your models. Blender offers various UV unwrapping methods, including Unwrap, Smart UV Project, and Cube Projection.
* **Texturing:** Texturing involves adding surface details to your models using images or procedural textures. Blender’s shader editor allows you to create complex materials by combining different texture nodes.
* **Animation:** Blender’s animation tools allow you to bring your models to life. You can create keyframes to define the position, rotation, and scale of your objects over time. Blender also supports advanced animation techniques such as rigging and motion capture.
* **Rendering:** Rendering is the process of generating a 2D image from a 3D scene. Blender offers two main rendering engines: Eevee (a real-time renderer) and Cycles (a path-tracing renderer). Cycles provides more realistic results but requires more processing power.
### Understanding Blender’s Node-Based System
Blender’s node-based system is a powerful feature that allows you to create complex materials, textures, and effects by connecting different nodes together. Nodes are visual building blocks that perform specific operations, such as generating textures, applying colors, or performing mathematical calculations. By connecting nodes in different ways, you can create a wide range of custom effects.
* **Material Nodes:** Used to define the appearance of your objects.
* **Compositing Nodes:** Used to post-process your rendered images.
* **Geometry Nodes:** Used to procedurally generate and manipulate geometry.
## Blender’s Grease Pencil: 2D Animation in a 3D World
Blender’s Grease Pencil is a unique feature that allows you to create 2D animations directly within the 3D environment. You can draw, paint, and animate 2D strokes on top of your 3D models, creating a hybrid animation style that combines the best of both worlds. Grease Pencil is particularly useful for creating storyboards, concept art, and stylized animations.
### Benefits of Using Blender for 3D Creation
* **Free and Open-Source:** No licensing fees or subscription costs.
* **Cross-Platform Compatibility:** Runs on Windows, macOS, and Linux.
* **Comprehensive Feature Set:** Offers a wide range of tools for modeling, animation, rendering, and more.
* **Active Community:** Provides a wealth of resources, tutorials, and support.
* **Customizable Interface:** Allows you to tailor the interface to your specific needs.
### Challenges of Learning Blender
* **Steep Learning Curve:** Blender’s interface and functionalities can be overwhelming for beginners.
* **Complex Terminology:** Understanding the technical jargon can be challenging.
* **Constant Updates:** Blender is constantly evolving, so you need to stay up-to-date with the latest changes.
## Blender vs. Other 3D Software
While Blender is a powerful and versatile 3D creation suite, it’s important to consider how it compares to other popular 3D software packages, such as Autodesk Maya and Cinema 4D. Maya is widely used in the film and television industry, while Cinema 4D is popular among motion graphics artists. Blender offers a comparable feature set to these programs, but its open-source nature and active community make it a unique and compelling choice for many artists.
## Expert Tips and Tricks for Using Blender
* **Use Keyboard Shortcuts:** Learning keyboard shortcuts can significantly speed up your workflow.
* **Customize Your Interface:** Tailor the interface to your specific needs by rearranging panels and creating custom toolbars.
* **Use Add-ons:** Blender has a vast library of add-ons that can extend its functionality.
* **Learn from Tutorials:** There are countless online tutorials that can help you learn specific techniques.
* **Join the Community:** Connect with other Blender users to share knowledge and get support.
## Comprehensive Review of Blender
Blender stands as a titan in the world of 3D creation, offering a comprehensive suite of tools for modeling, animation, rendering, and more, all within a free and open-source package. Its power and flexibility are undeniable, making it a favorite among hobbyists, independent artists, and even professionals in various industries. However, like any software, it has its strengths and weaknesses. Our review is based on extensive use across multiple projects and a deep understanding of the software’s capabilities.
### User Experience and Usability
Blender’s interface has undergone significant improvements in recent versions, becoming more intuitive and user-friendly. However, the sheer number of options and settings can still be overwhelming for newcomers. The customizable interface is a double-edged sword; while it allows for personalized workflows, it can also lead to confusion if not properly configured. The learning curve remains steep, but the wealth of online resources and a supportive community help mitigate this challenge.
### Performance and Effectiveness
Blender’s performance is generally excellent, especially with optimized scenes and hardware. The Eevee real-time render engine is a game-changer for quick previews and interactive work, while the Cycles path-tracing engine delivers stunningly realistic results. However, complex scenes with high polygon counts or intricate simulations can still strain even powerful systems. The effectiveness of Blender depends heavily on the user’s skill and understanding of its tools and techniques. With proper training and practice, Blender can produce results comparable to industry-standard software.
### Pros:
1. **Free and Open-Source:** This is the most significant advantage. Access to professional-grade tools without financial barriers opens doors for countless artists.
2. **Comprehensive Feature Set:** Blender offers a complete pipeline for 3D creation, from modeling and sculpting to animation, rendering, and compositing.
3. **Cross-Platform Compatibility:** Runs seamlessly on Windows, macOS, and Linux, making it accessible to a wide range of users.
4. **Active and Supportive Community:** The Blender community is one of the most vibrant and helpful in the 3D world, providing ample resources and support.
5. **Customizable Interface:** Allows users to tailor the interface to their specific workflows and preferences.
### Cons/Limitations:
1. **Steep Learning Curve:** Mastering Blender’s interface and tools requires a significant investment of time and effort.
2. **Complex Terminology:** The technical jargon can be confusing for beginners.
3. **Performance Limitations:** Complex scenes can be demanding on hardware.
4. **Occasional Bugs:** As with any software, Blender is not immune to bugs, although the development team is quick to address them.
### Ideal User Profile
Blender is ideal for:
* Hobbyists and independent artists seeking a free and powerful 3D creation tool.
* Students and educators looking for a cost-effective solution for learning and teaching 3D art.
* Professionals in various industries who need a versatile and customizable 3D software package.
### Key Alternatives
* **Autodesk Maya:** Industry-standard software for film and television animation.
* **Cinema 4D:** Popular choice for motion graphics and visual effects.
### Expert Overall Verdict & Recommendation
Blender is an exceptional 3D creation suite that offers incredible value for its price (free!). While the learning curve can be steep, the rewards are well worth the effort. With its comprehensive feature set, active community, and constant development, Blender is a powerful tool for creating stunning 3D art. We highly recommend Blender to anyone interested in exploring the world of 3D.
## Insightful Q&A Section
Here are 10 insightful questions and answers about using Blender, going beyond the basics to address common user challenges and advanced queries:
1. **Q: How can I optimize my Blender scene for faster rendering times in Cycles?**
**A:** Optimize scene geometry by reducing polygon counts where possible. Use adaptive subdivision and denoising features. Adjust light paths and sample settings. Experiment with different render settings to find the optimal balance between quality and speed. Consider using a render farm for complex projects.
2. **Q: What’s the best way to create realistic textures in Blender?**
**A:** Combine image textures with procedural textures using Blender’s node-based material system. Use PBR (Physically Based Rendering) principles to create realistic materials. Pay attention to surface details, such as roughness, metallic properties, and normal maps. Utilize online texture libraries or create your own custom textures.
3. **Q: How do I rig a character in Blender for animation?**
**A:** Create an armature (skeleton) for your character. Parent the mesh to the armature using automatic weights or manual weight painting. Add constraints to control the movement of bones. Use shape keys to create facial expressions and corrective shapes. Consider using auto-rigging tools for faster rigging.
4. **Q: What are Geometry Nodes, and how can I use them?**
**A:** Geometry Nodes allow you to procedurally generate and manipulate geometry using a node-based system. You can use them to create complex patterns, distribute objects, and create dynamic effects. Geometry Nodes are a powerful tool for creating procedural assets and automating repetitive tasks.
5. **Q: How can I create realistic simulations in Blender (e.g., cloth, fluid, smoke)?**
**A:** Use Blender’s built-in simulation tools to create realistic effects. Adjust simulation settings to control the behavior of the simulation. Use collision objects to interact with the simulation. Bake the simulation to cache the results. Consider using external simulation software for more advanced effects.
6. **Q: What are some useful Blender add-ons that can improve my workflow?**
**A:** Some popular Blender add-ons include: *Hardops/Boxcutter* for hard surface modeling, *Retopoflow* for retopology, *UVPackmaster* for UV unwrapping, and *Fluent* for quick and easy modeling.
7. **Q: How do I create a seamless loop animation in Blender?**
**A:** Ensure the first and last frames of your animation are identical. Use the ‘Cycle’ modifier to repeat the animation. Adjust the timing of the animation to create a smooth transition between loops.
8. **Q: How can I export my Blender model for use in a game engine (e.g., Unity, Unreal Engine)?**
**A:** Export your model as an FBX file. Optimize the model for real-time performance by reducing polygon counts and using efficient materials. Bake textures to reduce the number of texture samples. Use LOD (Level of Detail) models to improve performance at different distances.
9. **Q: What’s the difference between Eevee and Cycles render engines, and when should I use each one?**
**A:** Eevee is a real-time render engine that prioritizes speed over realism. Cycles is a path-tracing render engine that prioritizes realism over speed. Use Eevee for quick previews and interactive work. Use Cycles for final renders where realism is important.
10. **Q: How can I collaborate with other artists on a Blender project?**
**A:** Use a version control system like Git to track changes to your Blender files. Use a shared cloud storage service to store your files. Communicate effectively with your collaborators to avoid conflicts.
## Conclusion: Unleash Your 3D Potential with Blender
As we’ve explored, mastering the instructions of using Blender opens the door to a world of creative possibilities. From modeling and animation to rendering and compositing, Blender offers a comprehensive toolkit for bringing your 3D visions to life. While the learning curve may seem daunting at first, the rewards are well worth the effort. By understanding the core concepts, mastering essential tools, and leveraging the power of Blender’s node-based system, you can unlock your full potential as a 3D artist. Remember to embrace the learning process, experiment with different techniques, and engage with the vibrant Blender community for support and inspiration. The future of 3D creation is bright, and with Blender, you have the tools to shape it. Now, share your experiences with instructions of using Blender in the comments below and let’s learn together!
